
Glutes · Resistance bands
Resistance Band Walk
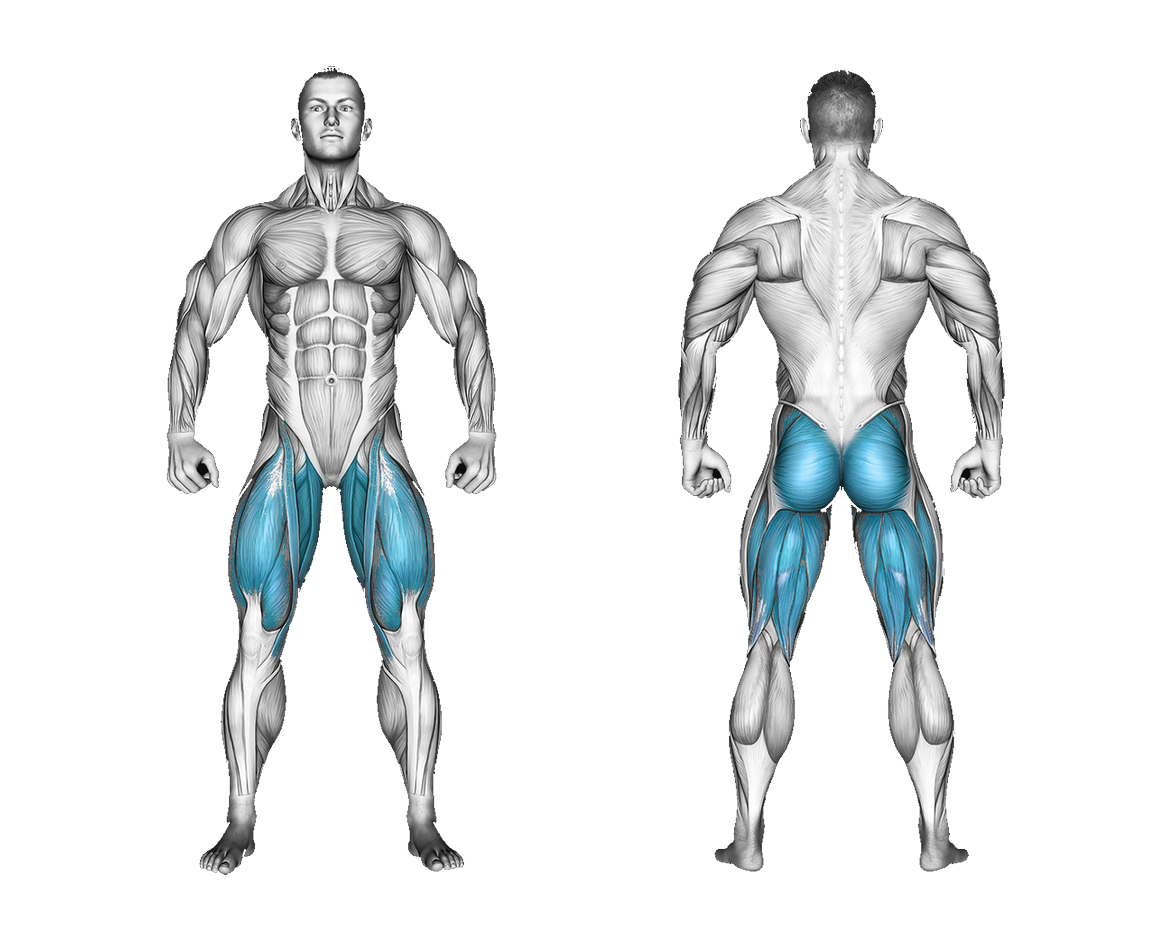
The resistance band walk is an accessory exercise designed to strengthen the gluteus medius, gluteus minimus, and hip stabilizers. It is suitable for lifters of any experience level and works best as a pre-activation drill before heavy compound lifts or as a high-rep finisher.
- Equipment
- Resistance bands
- Type
- Strength
- Animation
- Men
How to do it
- Place the loop band around your ankles and stand with your feet hip-width apart so the band is taut.
- Bend your knees slightly, push your hips back, and brace your core.
- Exhale and step forward and slightly outward with one foot, keeping tension on the band.
- Inhale, then exhale and step forward with the other foot in the same manner, keeping your feet at least hip-width apart.
- Continue walking forward with short, controlled steps for the set distance, then walk backward the same way.
Common mistakes
- Allowing the knees to collapse inward reduces glute activation and places unnecessary torque on the knee joints.
- Bringing the feet fully together causes the band to lose tension and lessens the continuous stimulus on the hips.
- Leaning the torso too far forward shifts the workload away from the glutes and into the lower back.
- Taking rapid or overly wide steps leads to excessive hip swaying and compromises core control.
Tips
- Maintain a shallow quarter-squat position with your knees pushed out against the band for the entire set.
- Move the band down to the balls of your feet if you need to increase leverage and mechanical tension.
- Keep your toes pointed forward and step slightly outward on every stride to maintain tension.
Sets and reps
Perform 3 to 4 sets of 15 to 20 steps per direction or walk for a distance of 10 to 15 meters. Rest 45 to 60 seconds between sets to build local muscular endurance and stability.
Muscles worked
Your coach guides every set
Turn on the coach in Gloox: it asks how you feel, picks the weight from your history and cues technique and rest. Rate each set and the next one is tuned to you.

On a computer? Point your phone's camera here to get the app.
Questions
Where should the resistance band be placed for maximum effect?
Placing the band around the ankles or midfoot creates a longer lever arm and increases glute tension, whereas placing it above the knees is easier and better for beginners.
Is the resistance band walk safe for the lower back?
Yes, as long as you maintain a neutral spine and avoid hyperextension; if you experience lower back pain, stop the exercise and consult a specialist.
Similar exercises
X-Band Side WalkResistance bands
Resistance Band Single Leg BridgeResistance bands
Resistance Band One Leg Kickback (Bent Position)Resistance bands
Band Kneeling Rear KickResistance bands
Resistance Band Leg KickbackResistance bands
Band Hip LiftResistance bands
Resistance Band Pull ThroughResistance bands
Band Pull ThroughResistance bands